
Tenda Router Setup: An Elaborative Guide!
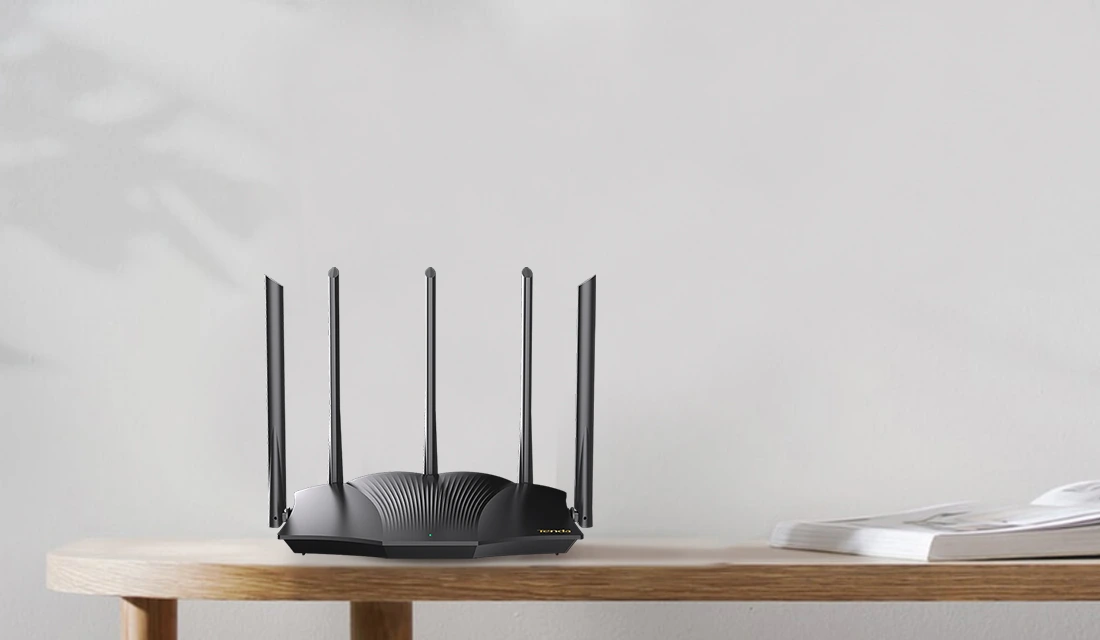
In this fast-paced era, wifi connectivity holds the utmost importance to facilitate seamless connectivity throughout your home. Several tech-savvy companies such as Tenda offer efficient and reliable wifi routers to connect every nook of your home. However, to make the most of your networking devices, the Tenda Router Setup is a must.
Therefore, to make you familiar with the complete configuration process, this guide is right away for you. In addition, this guide helps you to understand the stepwise process of the Tenda Wifi Router Setup. Further, you will find the other relevant details to configure other settings. So, read the guide below for more insights!
What is the Best Way to Complete the Tenda Router Setup?
Before you initiate the Tenda wifi router setup, you must be ready with an active internet connection, accurate admin details, the Tenda wifi app, etc. Further, you need to select an appropriate method to configure your device.
Generally, there are two ways to set up your networking device, i.e., via the web browser or the app. If you don’t know How To Setup A Tenda Router in different ways, then follow the below steps:
Tenda WiFi Router Setup Via Web Browser
- Initially, plug your router into the power supply.
- Now, connect your computer with the router’s network.
- Then, open any web browser and type the 192.168.0.1 IP address in the browser bar.
- After that, access the Tenda login panel using valid details.
- Now, you reach the smart setup wizard of the router.
- Further, visit the router’s Homepage and go to the WiFi Settings>WiFi name & Password.
- Next, modify the current wifi network name (SSID) and password in the 2.4 GHz network frequency band.
- Additionally, enter the wifi password in the WPA2-PSK security mode.
- Then, tap on ‘Save’ to apply these changes.
- Afterward, visit the Advanced, Parental Controls, Administration, Internet Settings, etc. sections to configure the router accordingly.
- Finally, save and apply all the changes to finish the Tenda Router Setup.

Using the Tenda WiFi App For Router Setup
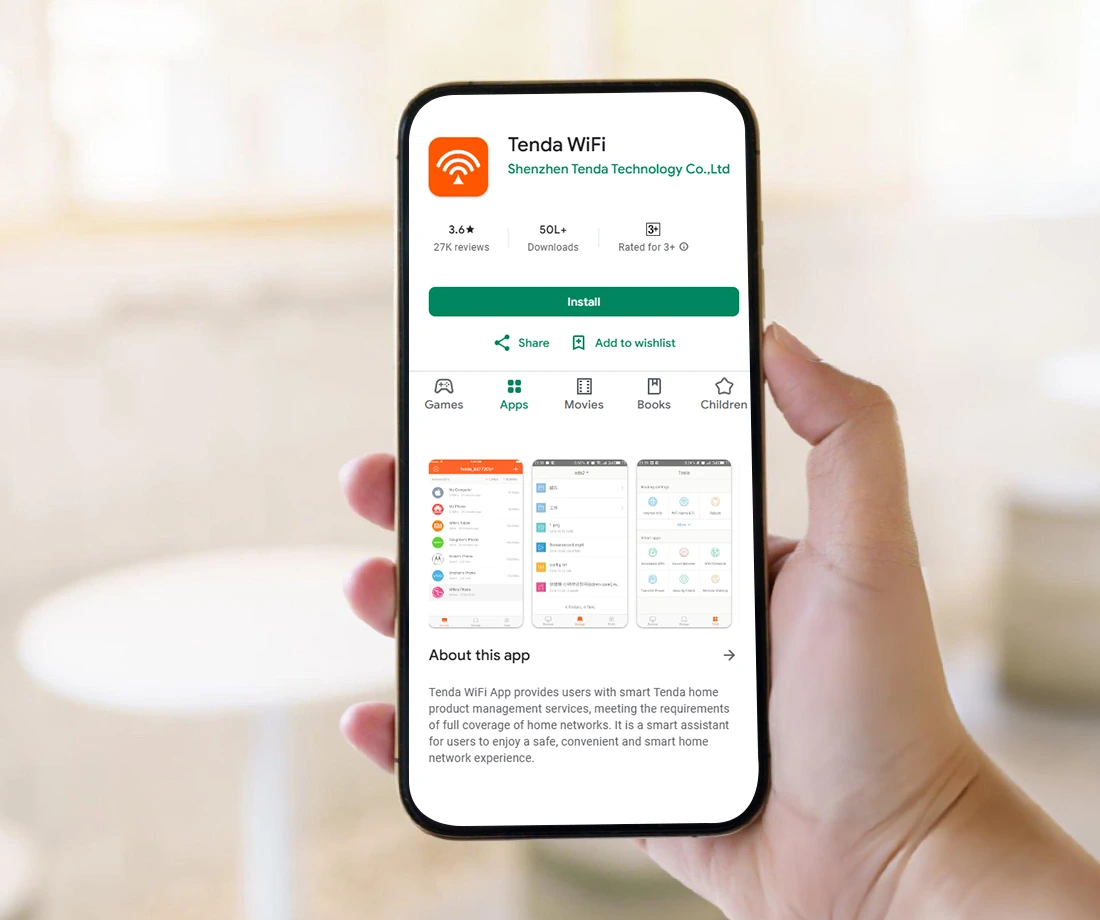
- To begin with, install or update the Tenda wifi app on your smartphone.
- Then, connect your smartphone to the router’s network.
- Further, launch the app and access your account using valid admin details.
- If you are a first-time user, then register your device on the app and then log in.
- Hereon, you reach the setup wizard of the router.
- Now, navigate to Settings or the gear icon appearing at the bottom of the page.
- Then, tap on the Wireless Settings to change the default SSID and password.
- Next, type a strong SSID and a unique password to secure the network.
- Tap on ‘Save’ to apply these changes.
- After that, navigate to the other settings such as Guest Network, Access Control, and Wireless Connection Status to configure further settings.
- At last, save and implement all the modified settings.
What Is the Best Way to Setup Tenda Router As Access Point?
Generally, the web GUI is the most preferred way to configure the settings on your wifi router. However, you can either use the Tenda wifi app or the web interface to configure your device. But, most of the users prefer the web browser method. So, find the stepwise procedure to Setup Tenda Router As Access Point:
- Firstly, connect your computer to the Tenda wifi network.
- Now, launch a web browser and access the dashboard using the 192.168.0.1 IP address.
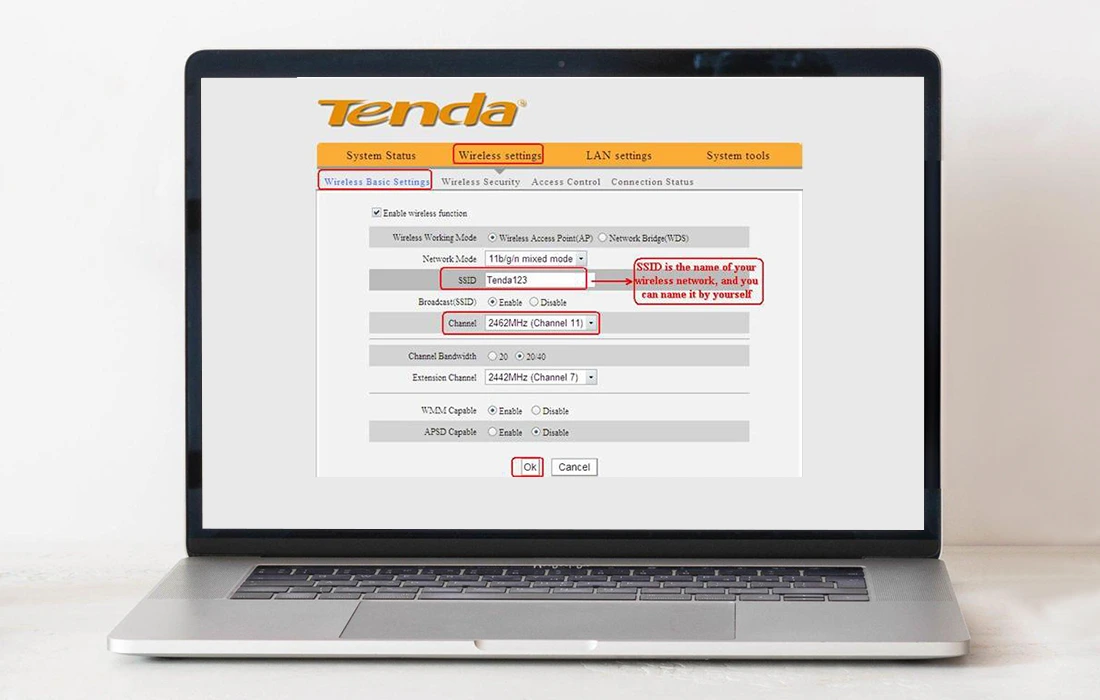
- After that, click on the Wireless Settings and choose the Wireless Basic Settings.
- Now, select AP mode as an operation mode and tap on OK to end this process.
Unable to Complete the Tenda Router Setup? Use These Tips!
Oftentimes, users get stuck during the Tenda WiFi Router Setup process due to certain reasons. These reasons mainly involve poor network connectivity and weak signal strength, technical glitches and bugs, poor configuration, etc. So, to fix these issues, use the below-mentioned tips:
- Most importantly, you must have a stable internet connection. You can use the ethernet cables to stabilize your internet connection.
- Additionally, inspect the cable configurations and make sure the cables are securely connected to the device ends and power source.
- Further, confirm that all the devices have adequate power supply and everything is working fine.
- Moreover, power cycle or reboot your Tenda router if there are any technical glitches or bugs.
- Cross-verify the IP address and login details from the user manual when accessing the dashboard of your router.
- Also, ensure that your wifi router is using the recommended 2.4 GHz network.
- Regularly erase the unwanted browser and app data from your browser and app.
- Additionally, use the latest version of the app and web browser and enable the required permissions.
- Certainly, you must check the compatibility of the Tenda wifi app with your smartphone before installing it.
- In addition, periodically check the firmware updated on your router and download the latest firmware version on your device.
- Meanwhile, the router login process disables the VPN, Firewall, anti-virus, etc. security extensions.
- If you are facing frequent network drop-offs, then contact your internet service providers.
- At last, factory reset your networking device, when nothing works well.
How to Factory Reset Tenda Router?
As mentioned previously, when no other solution works, then factory resetting is the final option. Factory resetting the router helps in bringing your device to its default settings. So, follow the below-given tips to factory reset the Tenda router:
- To begin with, access your admin panel via web GUI.
- Then, navigate to the smart setup wizard of the router.
- Hereon, go to the Administration>Reset to Factory Defaults and tap on the Reset button.
- Wait till the router reboots and reverts to its factory settings.
- Finally, the Tenda router reset is finished.
All in all, this comprehensive guide helps users to understand the Tenda Router Setup process. If you want to know more about this device, connect with us!
Frequently Asked Questions
Can I restore my Tenda router settings using the manual method?
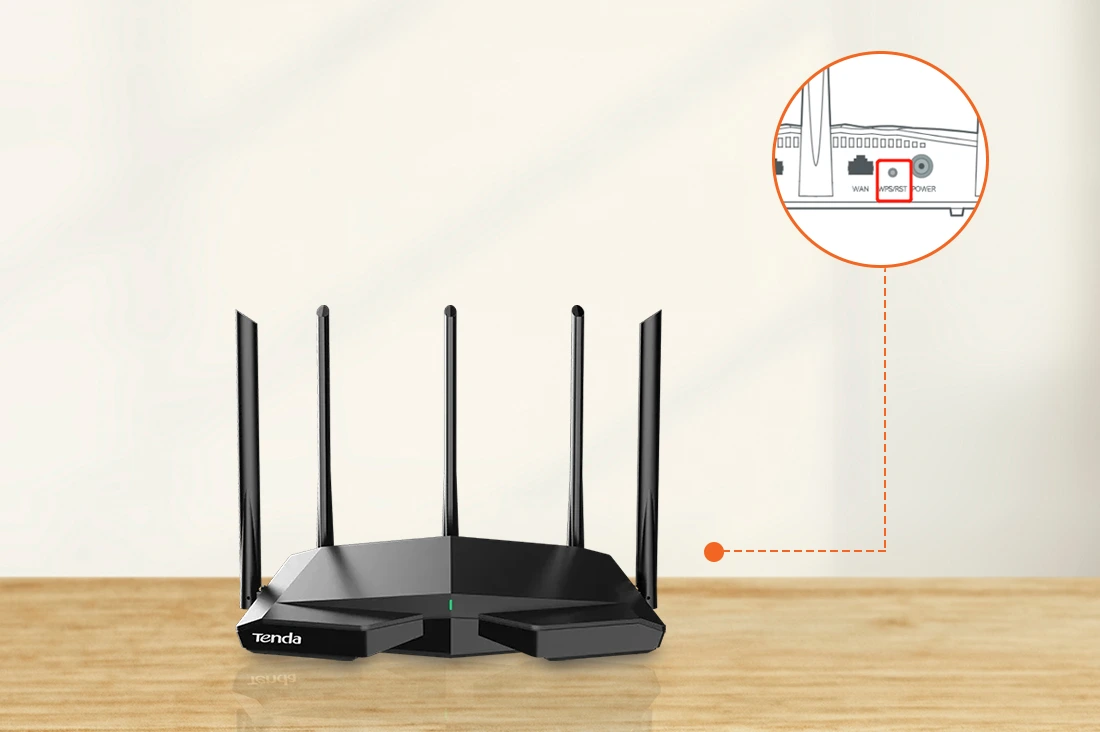
Yes, you can use the reset button on your router to restore the Tenda router to its factory settings. To do so, press and hold the reset button using a small needle-like pin for 9 seconds. Then, release this button when the LED indicates a solid green color and your device is reset.
What does a solid red LED on my Tenda router represent?
The indication of a solid red LED on my Tenda wifi router represents poor connection quality.
How to change the Tenda router default password?
To change the default Tenda router password, access the setup wizard of the router using valid details. Then, go to System Tools>Change Password Options and enter your old and type a new password.